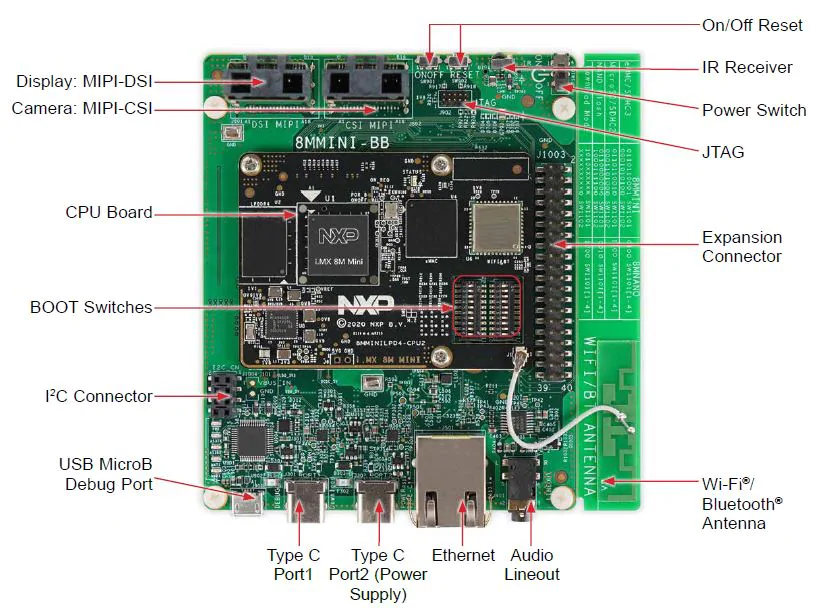
8MMINILPD4-EVKB
TESTING SUPPORT
This device/board is currently being checked for full support
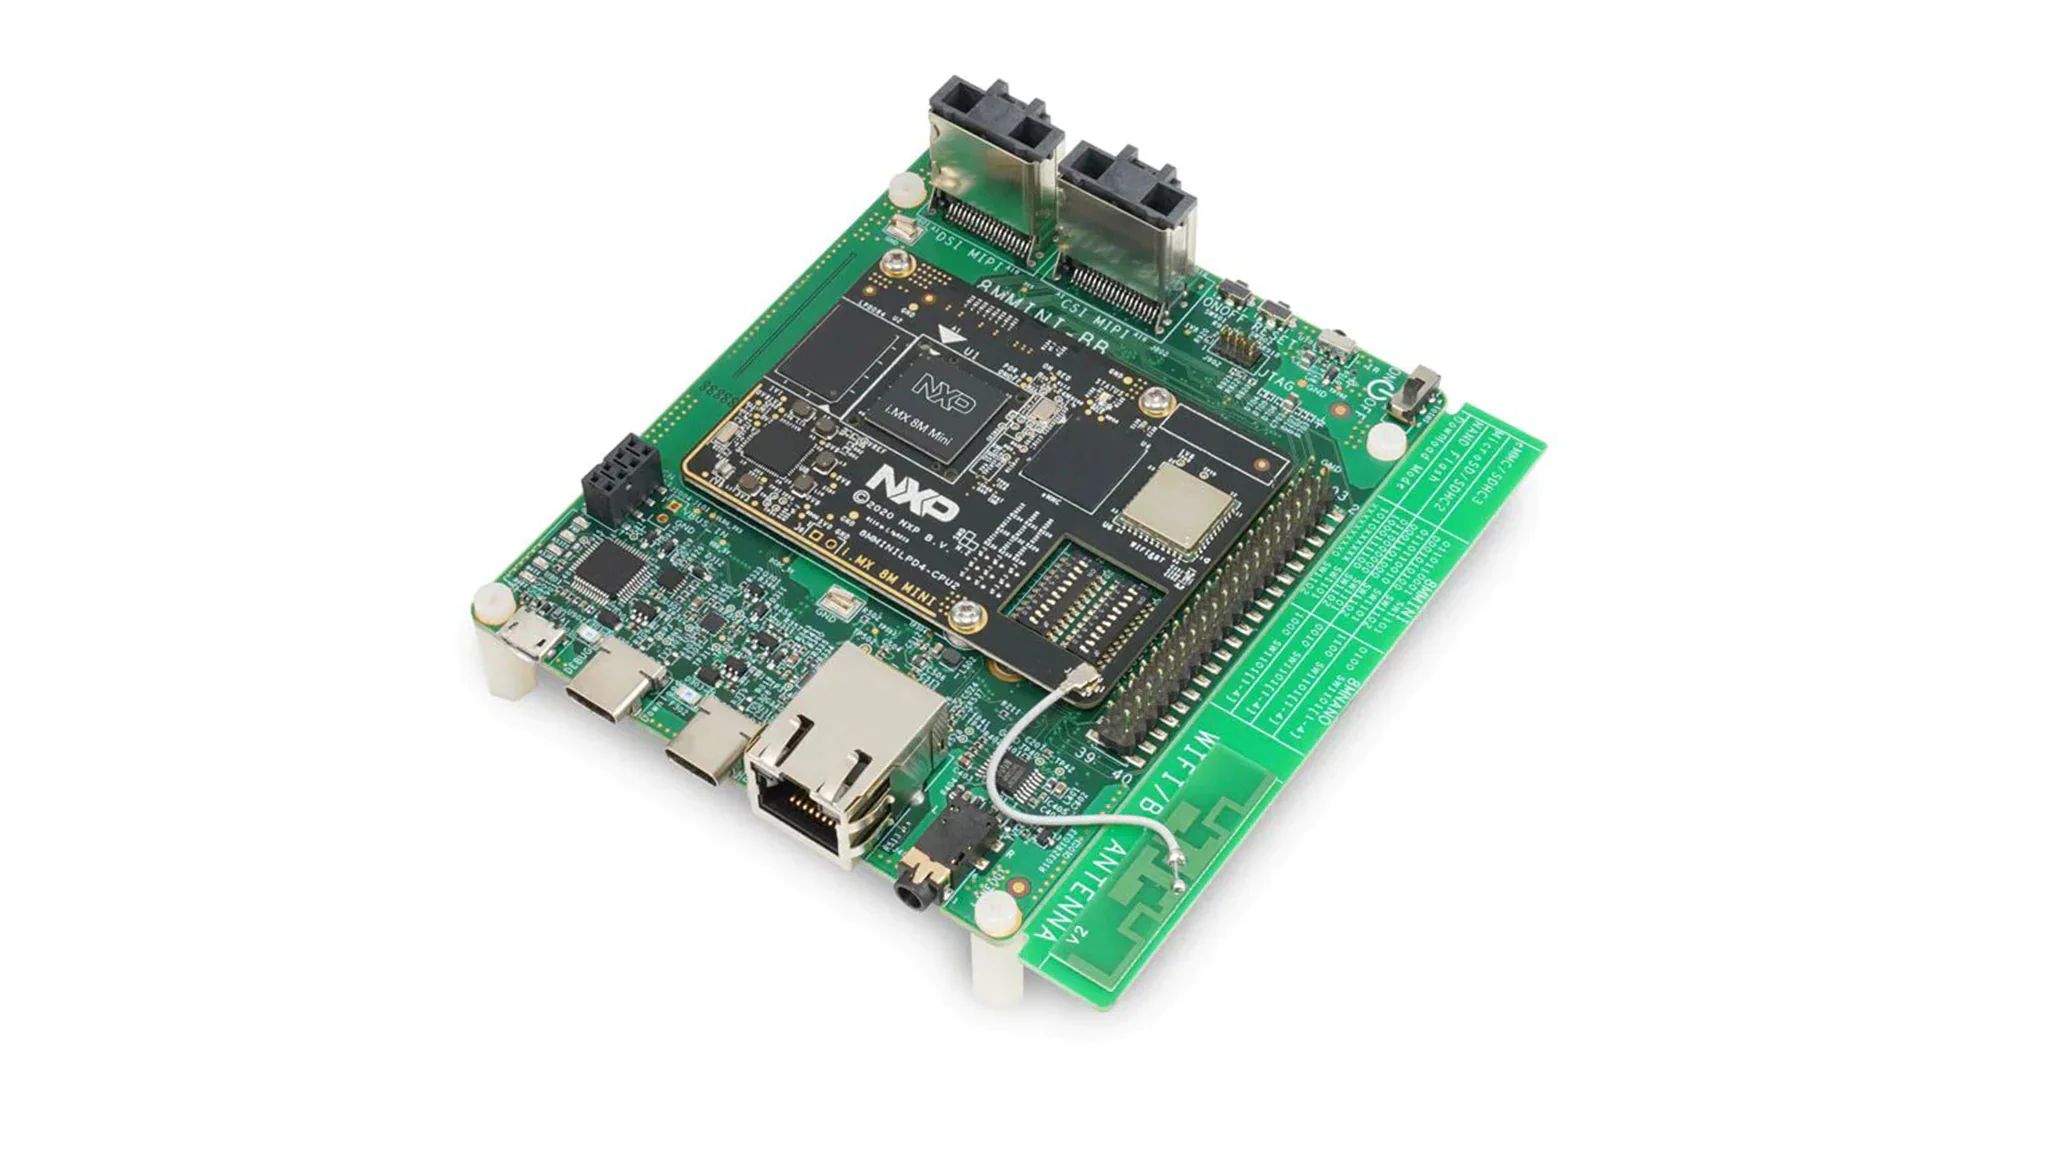
Using this device is very simple. Connect:
- Ethernet
- Connect a USB cable to the ST-Link port
- Power supply
- plug-in the SD Card in the board slot.
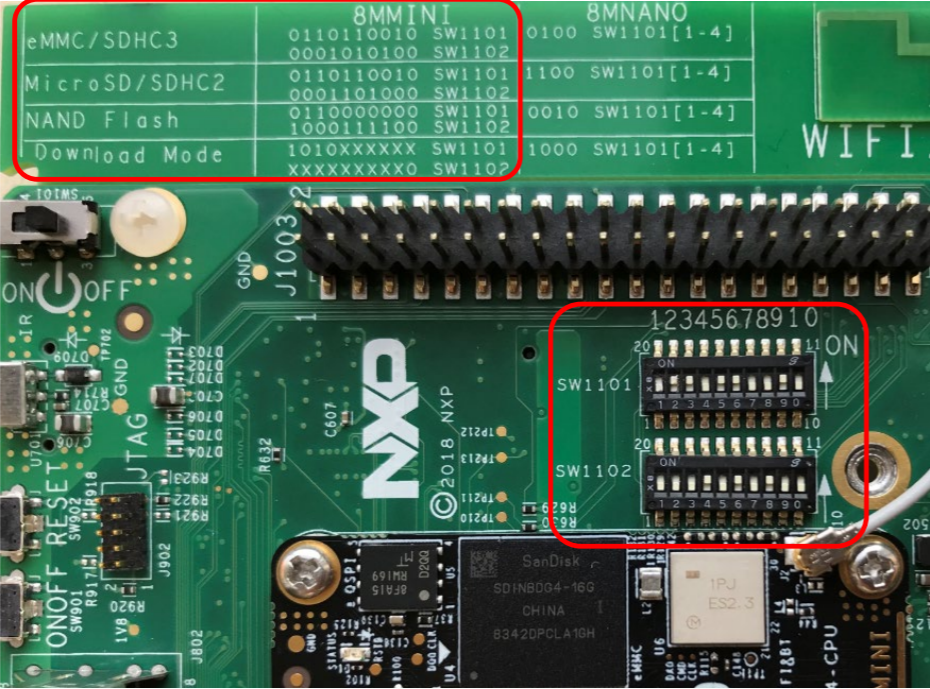
Setting DIP switches
In this project, we will use SD cards for the images.
For this reason, it is important that you confirm that boot switches are set correctly.
| MicroSD | Setting |
|---|---|
| SW1101 | 0110 1100 10 |
| SW1102 | 0001 1010 00 |
Detecting serial ports
When you plug the USB-serial cable, it will create serial ports in your host computer.
You can recognize with ports have been detected by running:
> sudo dmesg | grep tty
[    0.000000] printk: console [tty0] enabled
[    6.444493] cdc_acm 11-1:1.1: ttyACM0: USB ACM device
[  560.568721] cdc_acm 9-3:1.1: ttyACM0: USB ACM device
[26531.500870] usb 9-3: FTDI USB Serial Device converter now attached to ttyUSB0
[26531.503855] usb 9-3: FTDI USB Serial Device converter now attached to ttyUSB1
This board creates TWO serial ports (UART).
- port 0: (
/dev/ttyUSB0) M4 core - port 1: (
/dev/ttyUSB1) A53 core
so in order to connect to the Linux related port use:
sudo minicom -D /dev/ttyUSB1
caution
The serial port of this device requires disabling HW flow control
-
When you open
minicompressCTRL+A Z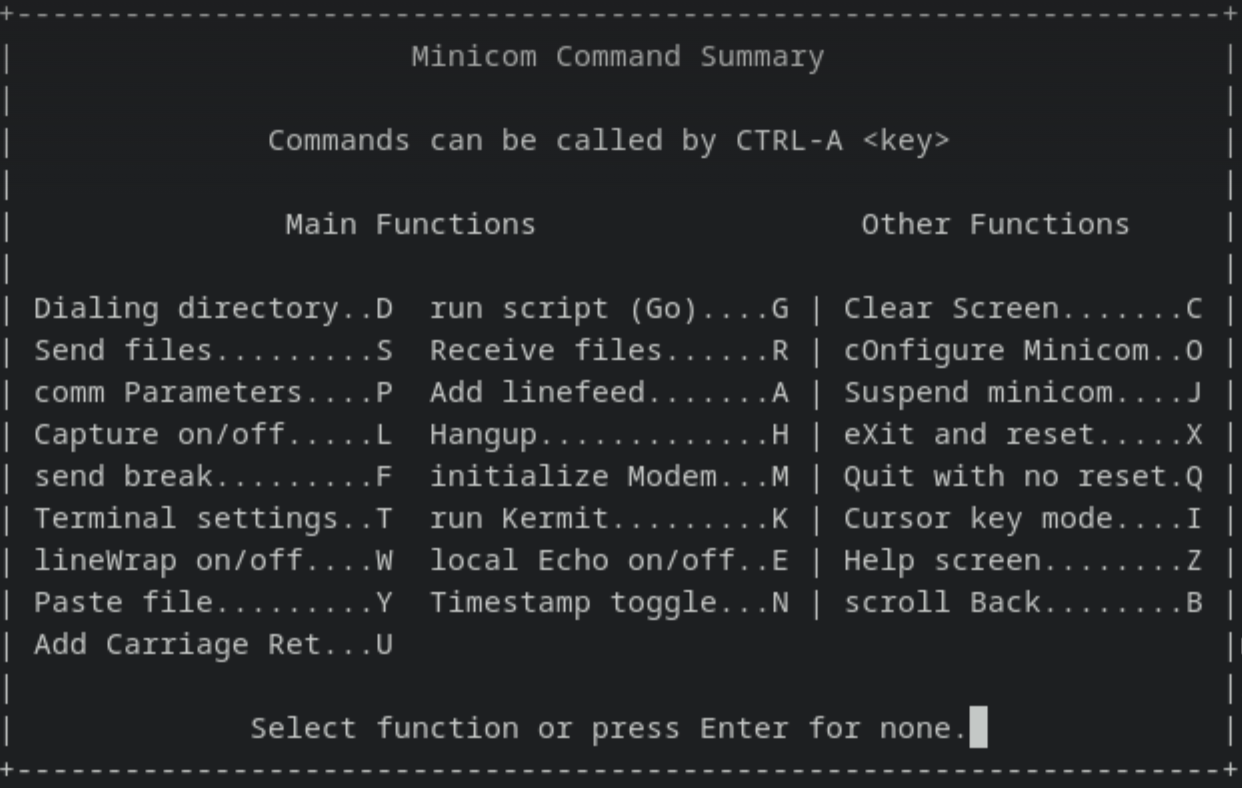
-
Then choose
cOnfigure Minicom -
The HW control flow to off and save as default